Sebastien Rouxel is a talented pastry chef who works for the Thomas Keller restaurant group. He created this modern take on the classic Oreo cookie in honor of Chef Keller and named them TKOs.
Ingredients
125 Grams 35% white chocolate, chopped (Valrhona Ivoire)
15 Grams Unsalted butter
125 Grams Heavy Cream
259 Grams All-purpose flour
87 Grams Unsweetened alkalized cocoa flour (Cocoa Noir)
1.60 Grams Baking soda
227 Grams Unsalted butter
6 Grams Kosher salt
161 Grams Granulated sugar
1 Matfer #45 fluted cutter
1 Stand mixer with paddle attachment
1 Pastry bag with 3/16-inch tip
1 Baking sheet with silpat or lined with parchment paper
1 Whisk
Parchment paper
1 Rolling pin
1 Pastry scraper
Step 1
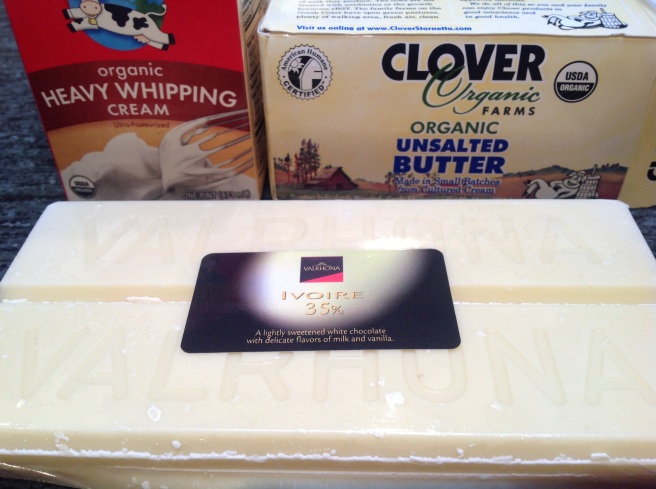
We will start by gathering our ingredients for the filling: heavy whipping cream, unsalted butter and white chocolate.
Step 2

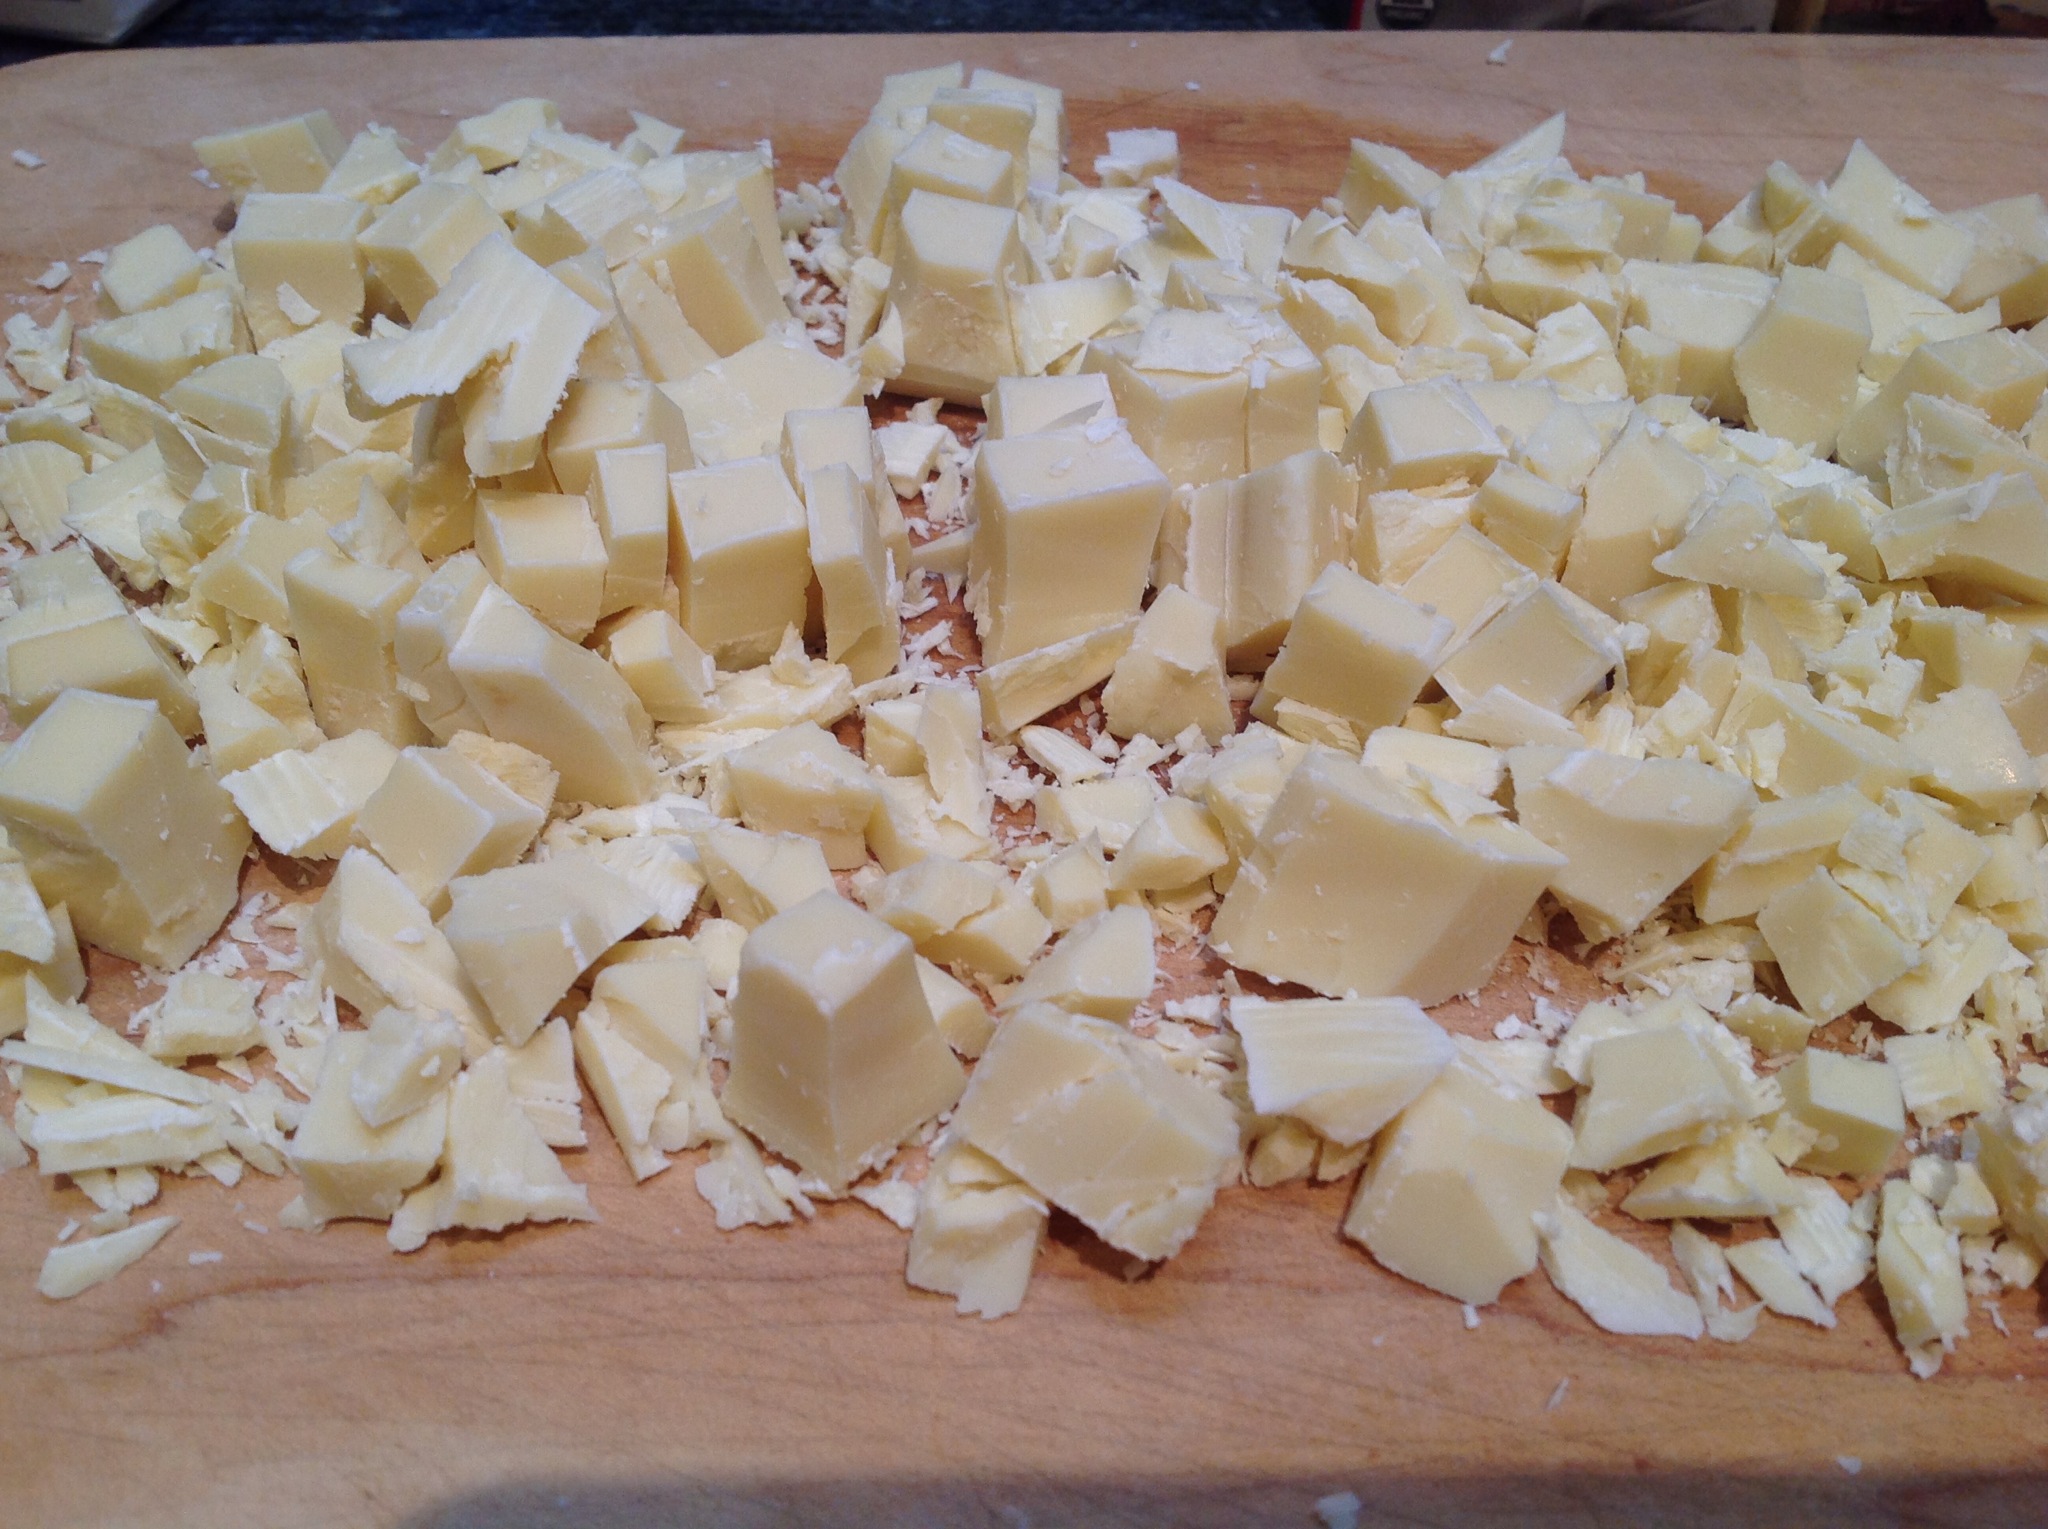
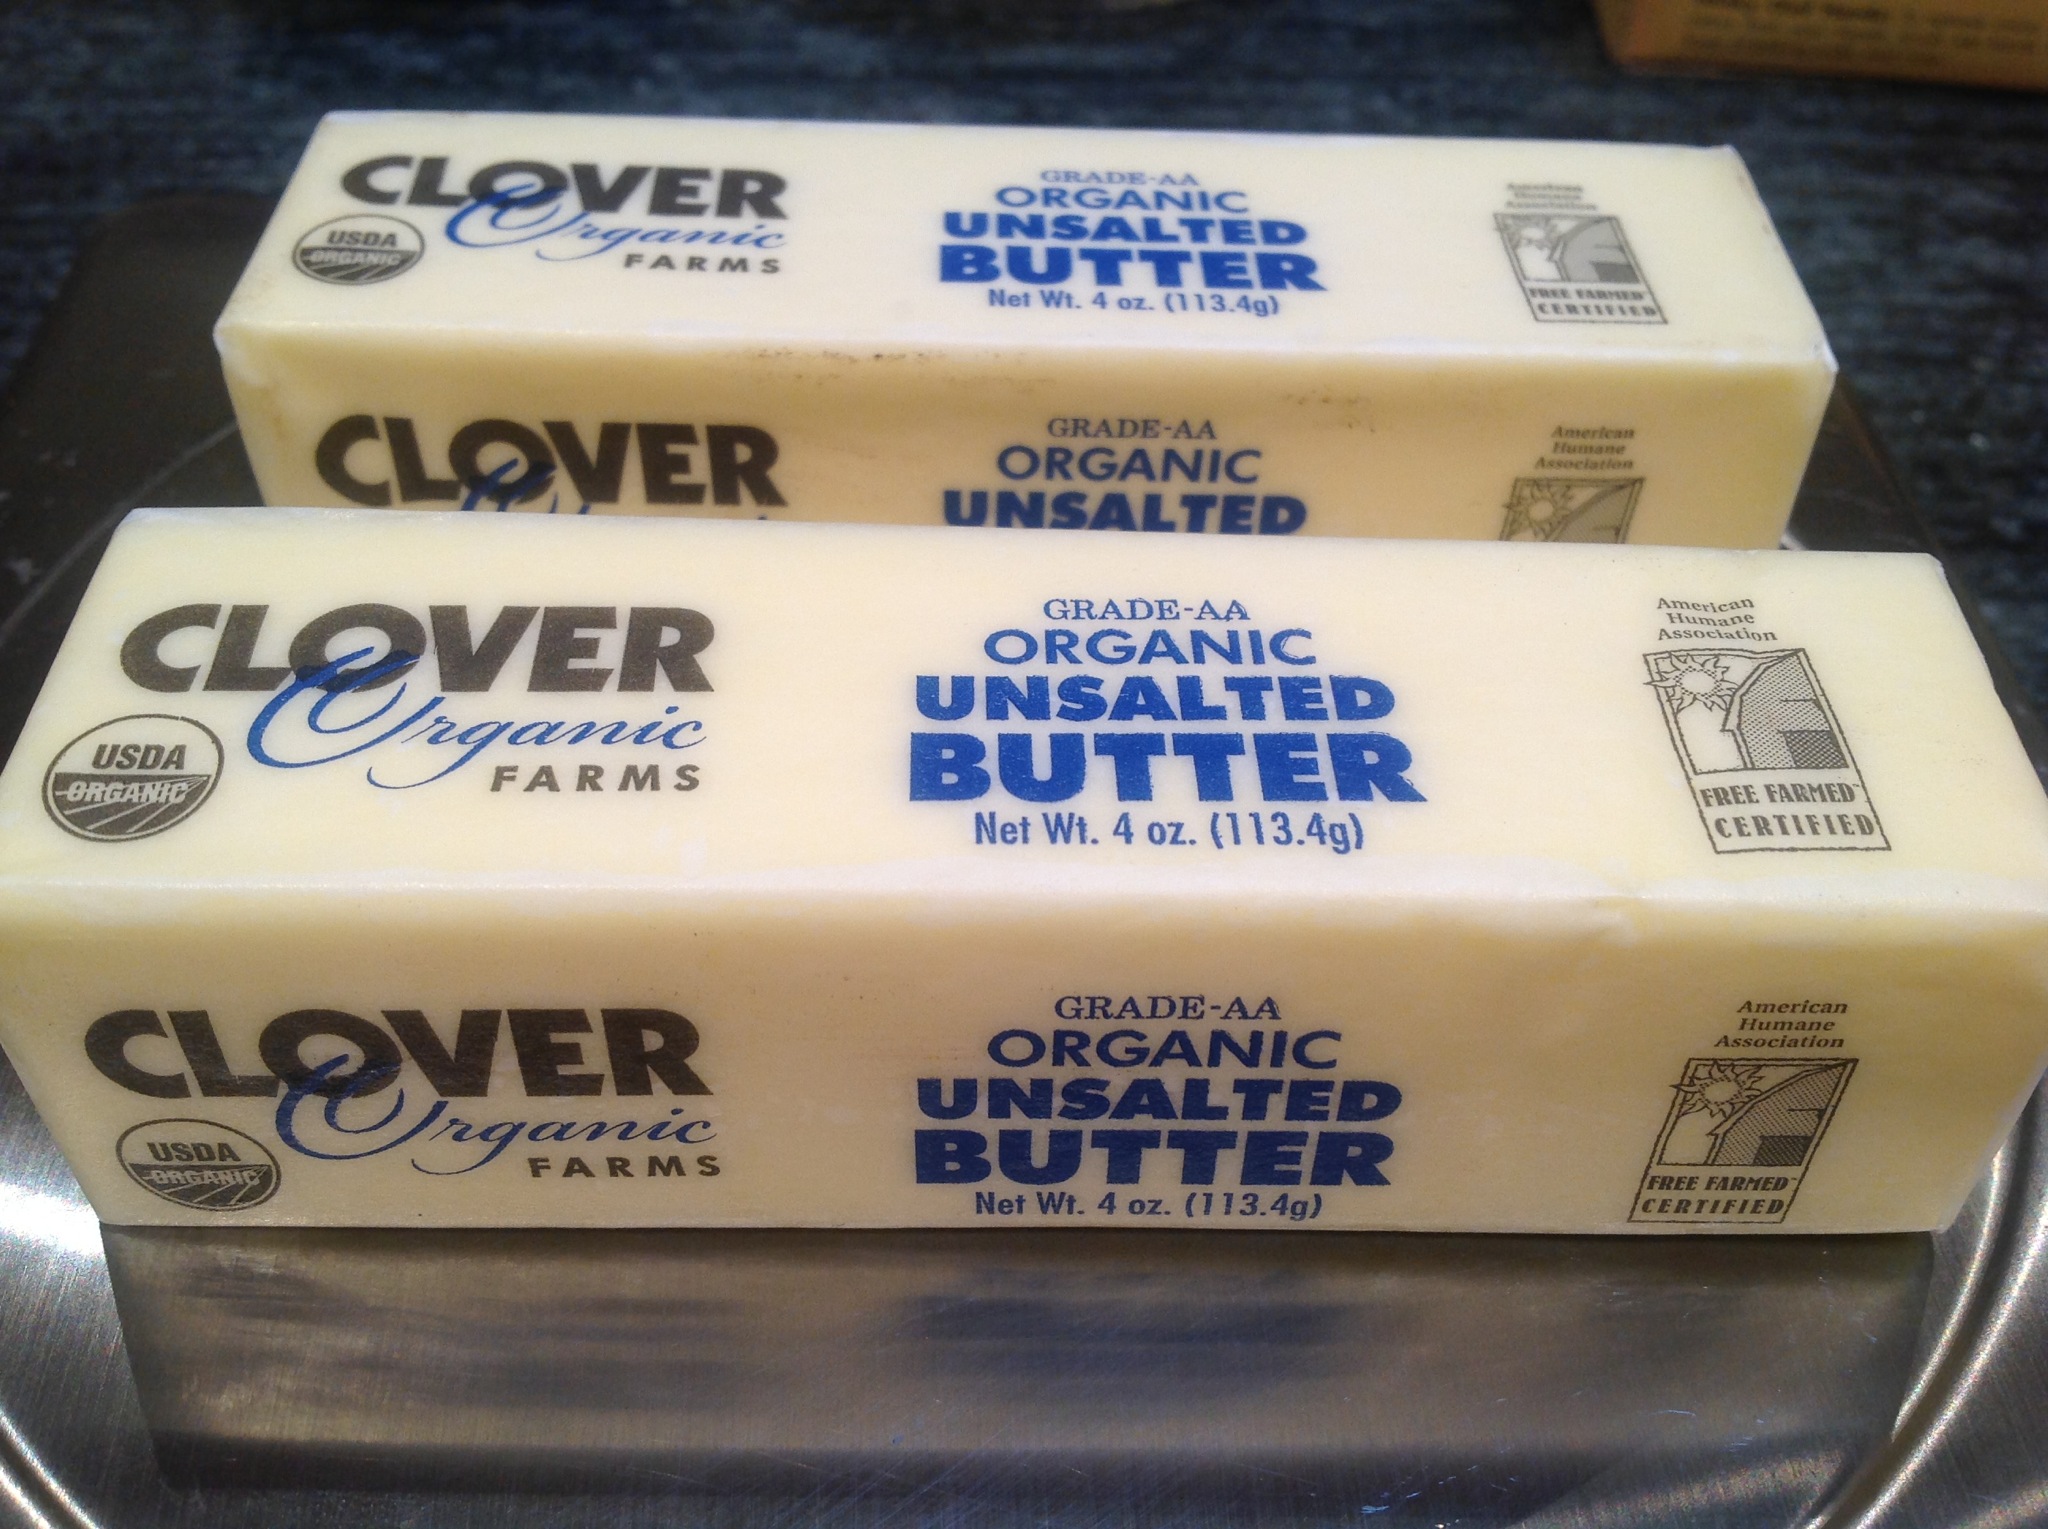
Make sure your butter is room temperate, then weigh out 125 grams.
Step 3

Weigh out 125 grams of white chocolate then chop it up to make it quicker to melt.
Step 4
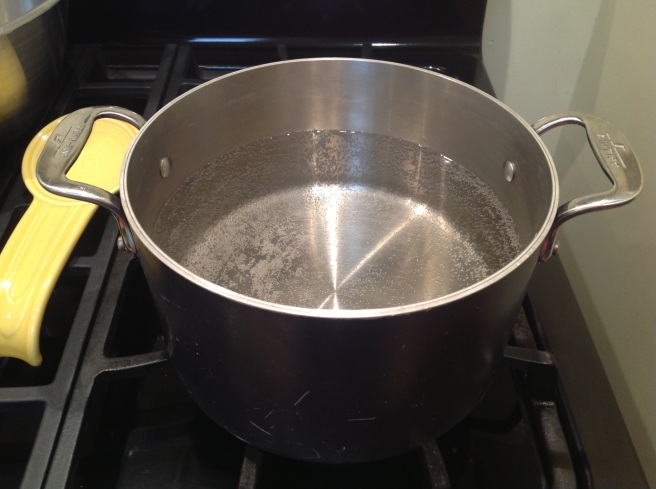
To melt the chocolate and butter we are going to use a double boiler. We don't own one but they are easy to make: take a pot and fill it with water, put it on the stove and cover it with a metal bowl.
Step 5

This is our finished homemade double boiler!
Step 6

Combine the white chocolate and butter in a bowl and reassemble your double boiler. You'll want to occasionally stir the ingredients to help them melt.
Step 7

Weigh out 125 grams of heavy whipping cream.
Step 8

Add the whipping cream to a pot and bring to just under a simmer.
Step 9

Meanwhile the white chocolate and butter should be nearly melted.
Step 10

All melted!
Step 11

Add the almost simmering whipped cream to the melted chocolate and butter.
Step 12

Use a whisk to combine the whipping cream, chocolate and butter.
Step 13

It will look like this once whisked.
Step 14

Put the mixture into a container and store in the refrigerator until completely chilled. This will probably take a few hours. If you wanted you could prepare this a day in advance.
Step 15
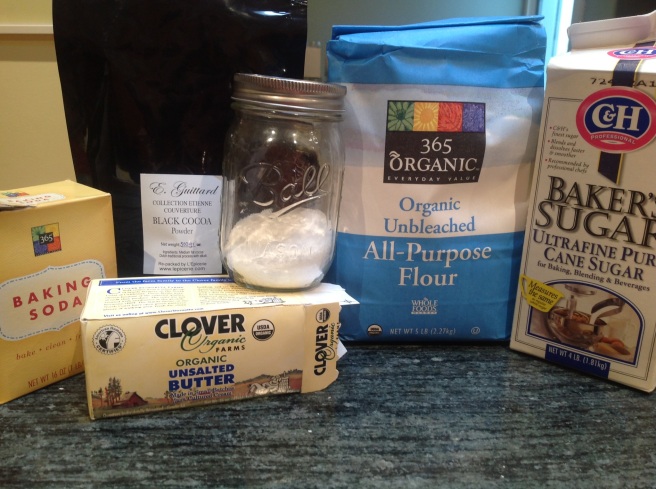
Gather your ingredients for the shortbread: all-purpose flour, unsweetened alkalized cocoa powder, baking soda, unsalted butter, kosher salt, and granulated sugar.
Step 16

Weigh out 259 grams of all-purpose flour and add it to a medium sized mixing bowl.
Step 17

Weigh out 87 grams of unsweetened alkalized cocoa powder. We are using Guittard Cocoa Noir which is a an amazing dark cocoa powder.
Step 18

Weigh out 1.6 grams of baking soda. We are adding the baking soda to the cocoa mixture since it's about to be sifted into the flour together.
Step 19

Sift the cocoa and baking soda into the bowl with the flour.
Step 20

Whisk the cocoa, flour and baking soda.
Step 21

After whisking the cocoa, flour and baking soda should be thoroughly mixed together.
Step 22

Weigh out 227 grams of room temperature unsalted butter.
Step 23

A stand mixer is going to come in handy for many of your next steps.
Step 24

Add the room temperature butter into the bowl of a stand mixer. Using the paddle attachment mix the butter on medium-low speed until smooth.
Step 25

The butter has been whipped completely when it looks nice and smooth.
Step 26

Weigh out 6 grams of kosher salt.
Step 27

Add the salt to the butter and mix for 15 to 30 seconds.
Step 28

Weigh out 161 grams of granulated sugar.
Step 29

Add the sugar to the butter and mix for about 2 minutes, until the mixture is nice and fluffy.
Step 30

You're done mixing the sugar once the butter looks nice and fluffy.
Step 31
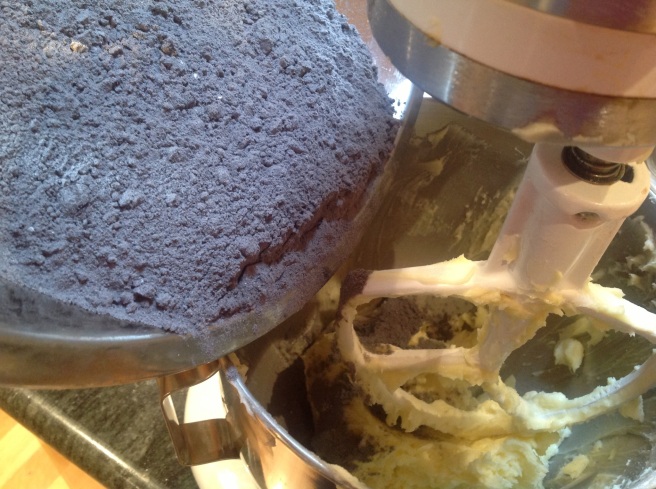
Add the cocoa, baking soda and flour mixture to the butter in 2 additions, mixing on low speed for 15-30 seconds. Once all the flour has been added continue mixing until the dough comes together.
Step 32

You are done mixing when the dough has come together.
Step 33

Put the dough on a work surface. If you have a pastry scraper it will come in handy in the next step.
Step 34

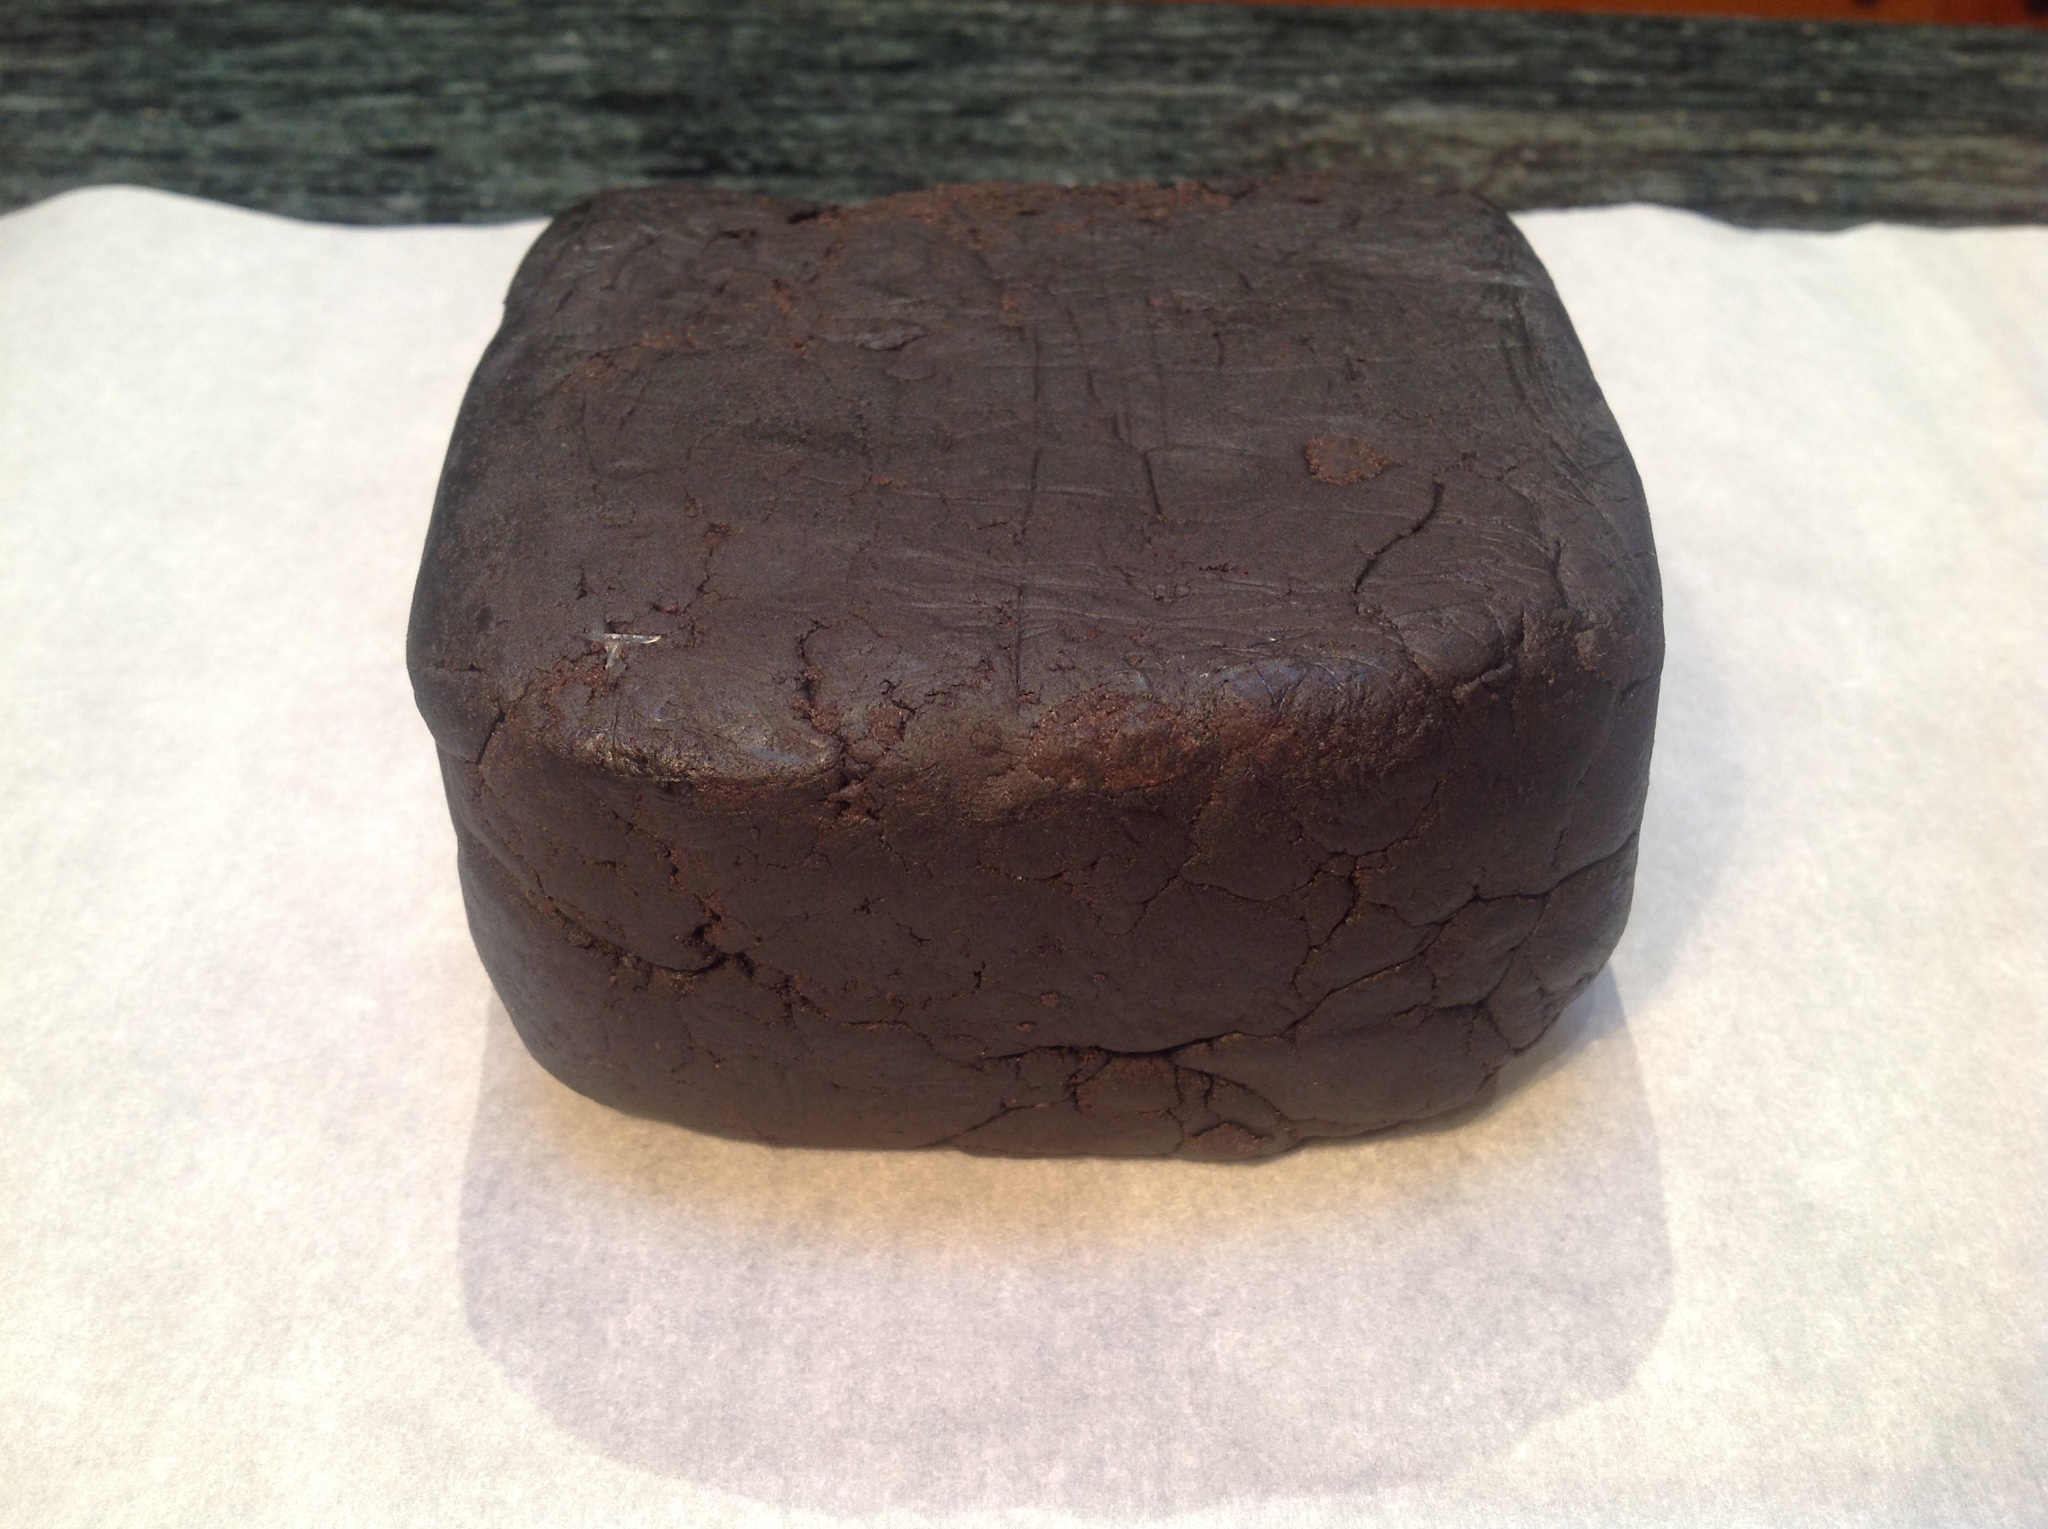
Using the heel of your hand or a pastry scraper, push it together to form a 6-inch-square block.
Step 35
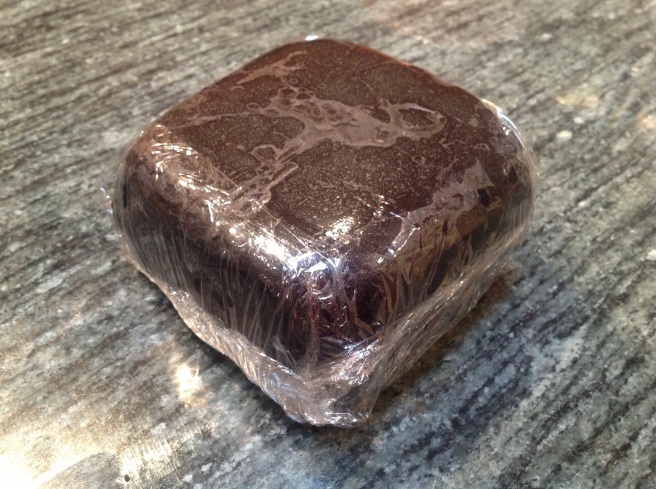
Wrap the dough in plastic and refrigerate for at least 1 hour, until it is firm.
Step 36

The dough can be refrigerated for up to 2 days or frozen for up to 1 month.
Step 37

Preheat your oven to 325 degrees fahrenheit.
Step 38

Once the dough is firm remove it from the refrigerator, unwrap it and place between two pieces of parchment paper.
Step 39

Roll the dough out into to a 1/8-inch-thick sheet. When rolling start by pounding down the dough. Then begin to work the dough from left to right, turning the dough 90 degrees and repeating.
Step 40

Rolling out the dough is hard work! If the dough begins to soften too much you can slide it (in the parchment paper) onto the back of a sheet pan and refrigerate until firm enough to cut.
Step 41

Once you have evenly rolled out the dough to a 1/8-inch-thick sheet you can remove the top sheet of parchment. It's time to cut the dough for your cookies.
Step 42

Cut the dough into rounds using a Matfer #45 1.75-inch fluted cutter.
Step 43

I used an offset spatula to transfer these rounds from the parchment paper to the baking sheet.
Step 44

Arrange the rounds on a sheet pan lined with parchment paper or a silpat, leaving 3/4 inch between them. Bake for 9 to 11 minutes, turning the pans halfway through, until the cookies are fragrant.
Step 45

Any additional trimmings can be pushed together, refrigerated until firm, rerolled and cut into rounds. Or, you can bake them as is and once cooled grind in a food processor for ice cream topping!
Step 46

Because the cookies are so dark it can be hard to tell when they are done, they should have small cracks on the surface and smell fragrant. Set the pan on a cooling rack and cool for 5 to 10 minutes.
Step 47

After the cookies have been out of the oven for 5-10 minutes transfer them from the sheet pan to a rack to cool completely.
Step 48
The cookies are best the day they are baked, but they can be stored in a container, at room temperature if unfilled, or refrigerated if filled, for up to 3 days.
Step 49

Remove the filling from the refrigerator.
Step 50

Add the filling into the bowl of a stand mixer with the paddle attachment, and beat until smooth.
Step 51

The filling has been whipped completely when it looks smooth. Transfer the filling to a pastry bag.
Step 52

Assemble your pastry bag by first inserting the inside piece into the bag.
Step 53

Cut the tip off the bag.
Step 54

Attach the 3/16-inch plain tip.
Step 55

Transfer the filling into the pastry bag and "burp it" to get rid of any excess air before starting to use it.
Step 56

Pipe long teardrops in a ring on each one, beginning 1/8 inch from the edge of the cookie, and then, working towards the center, pipe concentric rings of teardrops to cover the cookie.
Step 57
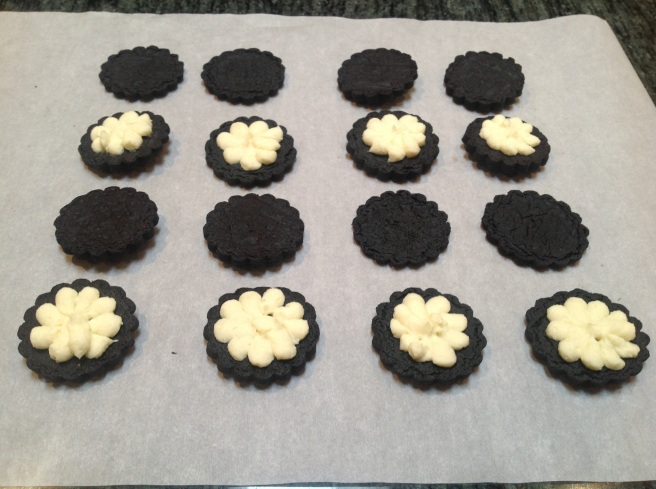
I like to make a bunch at once. When you're done, top each with a second cookie and press gently to sandwich the cookies.
Step 58

Ready to serve!